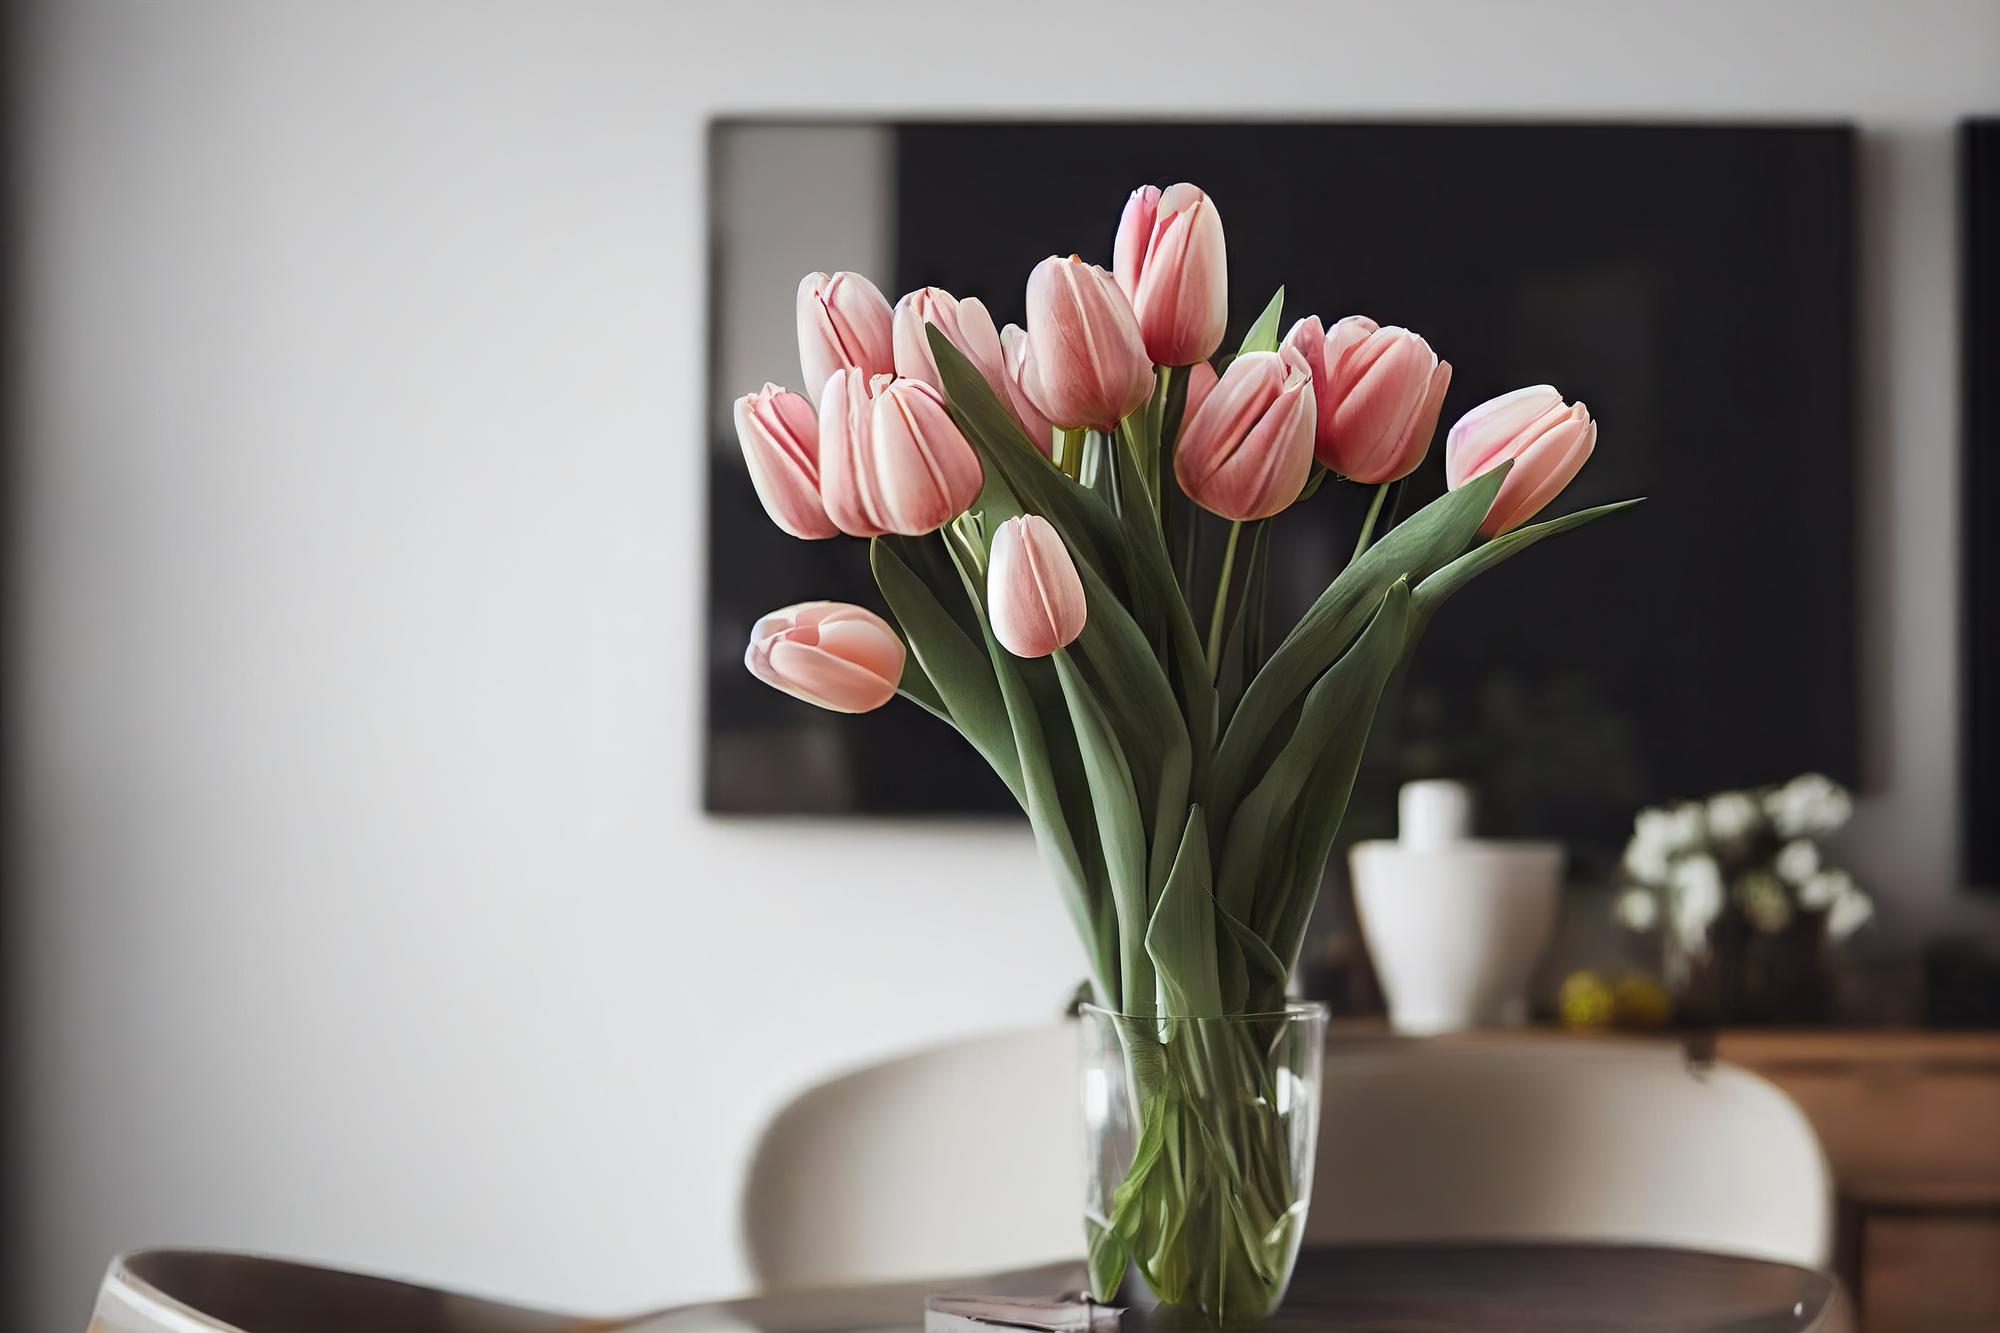
Even though tulips look nice in vases, they’re not usually considered houseplants. Because they require more work to get ready than other flowers, but the additional work is worth it if you want to bring their beauty into your home. Vernalization, also known as “forcing,” is a way to grow tulips inside by exposing the bulbs to cold weather for a long time.
This is done to make them think it’s winter, and then the temperature increases to make them think it’s spring. Imitating nature by leaving tulip bulbs in the ground all winter to bloom in the spring is easier. Read on for a full list of the steps you need to take to grow tulips indoors.
Steps for Growing Tulips Indoors
To grow tulips inside, you must start with high-quality bulbs and “put” them to sleep for the winter. Then, all that is required to ensure they succeed is to make a growing environment as great as springtime.
1. Choose “Good for Growing” varieties but have the pot ready.
A pot of flower buds is a great gift for the middle of winter and a beautiful reminder that spring is coming. So, in early October, buy tulip bulbs like “Single Early” or “Triumph” that bloom early from a reputable planting company. Choose a few 12 cm long, heavy, and firm bulbs to start your garden.
If you spend money on big bulbs, your flowers will be bigger. One must remember to start carrying out the task at least 16 weeks before they want flowers to bloom. Then, put a mixture of 1/3 potting soil, 1/3 peat moss, 1/3 grit, and perlite into a pot 6 to 8 inches deep and 6 inches wide. Leave at least 2 inches of space under the rim.
You can start the project in any container, whether a 6-inch pot holding 6–7 bulbs or a bigger container for a bigger garden, as long as it’s got drainage holes. By doing this, you can be certain that your soil mixture will drain quickly and keep fungi from growing that cause plants to rot.
2. Plant bulbs in a pot, cover them with water and put them in a cool place for 12 to 13 weeks.
Put the bulbs in the mixture with their points up, and don’t press them down. You should only be able to see the tops of the bulbs, so add more dirt around them and water them well while letting the water drain. If you want a bigger garden, you can put them close to each other in the pot.
The best part regarding growing tulips is that they don’t need fertilizer because the nutrients they need are already in the bulbs. After putting the bulbs in the right container, they can be treated with cold between 35 and 48 degrees Fahrenheit. Put the container in the fridge on a plate with holes, but don’t let it freeze.
Also, please don’t put the bulbs close to the farm produce because, as they ripen, fruits and vegetables give off ethylene gas. This gas is bad for your tulip bulbs’ health. You can also put the pot in a cool, dark place for 12–13 weeks. This will give you the most reliable results.
3. Water the tulip bulbs often for the best results.
Don’t forget to water the plants often enough to keep the soil moist. You could also buy a mini fridge just for your tulips and water the pot of bulbs every day. Don’t let the bulbs get too dry, but also don’t let them get too wet, or they will rot. At first, it might seem hard, but after a few tries and fails, you’ll get the hang of it. Also, don’t forget to put a plastic shopping bag with some holes in it over the tulip container.
4. Carry the tulip bulb from the cold when the initial sprouts appear.
After 12 to 13 weeks, tiny pale green and yellow leaves about 1 to 2 inches long will grow from the ground. Now is the ideal moment to take the pot out and put it in place with low light and a warm temperature of at least 50 to 60 degrees Fahrenheit, but not too close to a window.
To get the plants used to “spring” temperatures, leave the pot in this spot for 5–7 days or until the shoots are all green. The last step is to put the container between 60 and 70 degrees Fahrenheit which gets indirect sunlight.
If you turn the pot daily to face the sun, your flowers will sprout straight and bloom in three to five weeks. Now, you must water the pots regularly and occasionally cut off the dead petals. Don’t cut back the leaves, though.
At first, it might seem hard, but you’ll get the hang of it over time. Even though you can’t put the same tulip bulbs inside a second time, you can keep them in the same pot and move them outside in early fall so they can cool naturally and maybe bloom again.
To become a professional tulip grower, you need to know everything there is to know about flowers and how they react to changes in the weather. Once winter is over, take the bulbs out of the pot. You can now plant them outside, in a well-drained area of your yard. Don’t forget to feed the beautiful flowers perennial food and water them often until they turn yellow.
When the buds turn yellow, you can cut them back because the bulbs will bloom again next year. These plants that bloom early in the spring need a long period of cold weather to get ready to bloom again. You can push them to bloom in season for a one-time show but don’t do it again if you want them to stay healthy.
